Scanning Photographic Slides
In 2011, I decided to scan the whole collection of photographic slides of my parents, from 35mm roll films, taken between 1974 and 2003. Using a Digitdia 5000, from the German company Reflecta, I scanned successfully around 13,500 slides in 2 months and an half. I tried to report my experience feedback on this page, in case it could be of use to some other people.
Choosing the Scanner
There are basically three kinds of scanners to scan photographic slides which are available on the market:
| Type | Advantages | Drawbacks |
|---|---|---|
| Desktop scanners, with a specific equipment for scanning slides |
|
|
| Manual slide scanners |
|
|
| Scanners for magazines of diapositives |
|
|
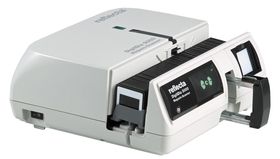
Considering the number of slides I had to scan, I opted for the third option. As far as I know, there is only one such model of scanner available on the market in this category at the time being: the Digitdia family, from Reflecta. These scanners can be purchased on many websites selling computer or photo equipments. At the time I purchased my scanner, mid-2011, the current version was Digitdia 5000. In late 2011, a new version, Digitdia 6000 is available. The main differences are an increased scanning resolution (from 3600 dpi to 5000 dpi), and the replacement of the ICE technology by an equivalent one named Magic Touch.
The Digitdia scanners seem to be the same as the PowerSlide scanners from Pacific Images, which are sold in the US (in general at a lower price). Be careful to the version numbers, which do not match 1-to-1, as the Digitdia 5000 corresponds to the PowerSlide 3650 and the Digitdia 6000 to the PowerSlide 5000. As far as I understood, all these scanners are manufactured in Taiwan by Pacific Images, and Reflecta is the European reseller.
Hardware
The Digitdia scanner looks like a legacy slide projector, where the lens ensuring the image projection is replaced by a digitization device. It seems that Reflecta / Pacific Images re-used the hardware basis of some older slide projectors from Braun. The scanner is delivered with three slide magazines:
- Two compact CS magazines, containing 40 slides each,
- One universal magazine (DIN 108, the type which was most used with projectors), containing 50 slides.
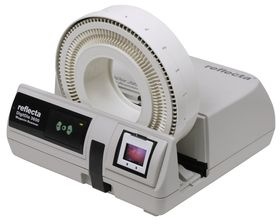
It is also compatible with some other kinds of magazines, see the full list here; and in particular with the circular magazines Paximat 100 or 100S, which have a capacity of 100 slides each. I strongly recommend this kind of magazines, for two reasons. You can scan batches of 100 slides instead of 50 with straight magazines (what has a direct impact on the time you will need, see below), and there are much less mechanical problems with them (again, see below). It's quite easy to purchase second-hand Paximat 100 or 100S magazines, as a lot of people were using them with slide projectors they no longer use.
The scanner is quite noisy: there is some smooth noise when moving slides (comparable to a regular slide projector), and a much more strident noise while scanning the slide (much higher than the typical noise of a desktop scanner). It's even higher when ICE is on. As far as possible, it's better not to plan to stay in the same room as the scanner during the scanning process.
When using the universal magazine, you should know the following trick (which is not documented in the user manual): there is an orange cursor on the slide feed which has to be moved before, so that the slides are correctly pushed into the scanner (see a picture and a video here).
Software
Overview
The Digitdia scanner is delivered with a software named CyberView X, for Microsoft Windows or Mac OS. It allows configuring the scans (resolution, color depth, ICE, etc.), and launching them (slide by slide, or by batches of up to 100 slides). I'd say this is not a very convenient software, in the sense that the user interface is not very well designed, and that it has some bugs. But, once you're familiar with it, it is ok to perform the basic tasks you need to do to control the scanner. Do not expect more, like managing or post-processing the scanned images, you should better use a dedicated commercial software for this purpose. CyberView X also has a Twain interface, but I do not really see the interest for such kind of scanner.
It is also possible to buy the scanner with an additional software called SilverFast, whose main interest seems to be in the post-processing of images. But it is quite expensive, and the advantage with regards to common image processing software is not very clear.
I'd probably recommend not to use the computer which is running CyberView X for another purpose while scanning a batch of slides, because the software seems not to be designed for that. On the other hand, it does not have very high expectations in term of hardware (I ran it without any problem on an AMD Athlon 2.4GHz, with a few GB of RAM), so you may use a dedicated second-hand computer.
Scanning configuration
Resolution. The scanning resolution can be configured between 1800 dpi and 3600 dpi. This has a direct (and, unfortunately, almost quadratic) impact on the time needed to scan a slide. However, scanning in 3600 dpi is in general worth the additional time. This does not reduce the dust or scratches on the scanned slides, if any, but the rest of the image is in general much better. I had some bad experience with the intermediate resolutions (e.g. 2400 dpi) which produced pixelized images, so the choices seem to be either 1800 or 3600 dpi.
Color depth. Slides can be scanned with a color depth of 24 or 48 bits. This has almost no influence on the scanning time. I decided to use 24 bits only, because 48 bits double the size of TIFF files, and are not easily supported in JPEG.
Image format. CyberView X can save the scanned image in TIFF (uncompressed) or JPEG (compressed). I recommend saving them in TIFF, and doing the JPEG conversion with another software for two reasons: JPEG compression by Cyberview X slows down the scanning progress, and cannot be configured (e.g. compression level).
ICE. ICE (or equivalently Magic Touch) is a technology to remove dust and scratches by doing a scan of the slide in the infrared spectrum. It produces awesome results, except on Kodachrome slides which are not compatible with this technology. It significantly increases the scanning duration, but it is worth the time!
All other settings (e.g. ROC or GEM) proposed by Cyberview X are purely software (with no hardware support), so I decided not enable them, as other software for post-processing images offer a better control on the result.
Experience feedback
Hardware reliability
The hardware is very reliable. While scanning my 13,500 slides:
- I had no mechanical failure of the scanner itself,
- When scanning with circular magazines, I did not have any mechanical problem with slides (blocked slide, missed slide, etc.)
- When scanning with straight magazines, I experienced failures for around 1 % of the slides. Nevertheless, there was no mechanical blocage, the scanning process was not interrupted, and no slide was damaged. Most of the failures were due to the fact that the mechanical arm did not push the slide into the scanner, i.e. the scanned image was completely white.
Frame detection
When scanning a slide, the scanner has to detect the position of the frame, to scan only the photo area, in particular to distinguish vertically oriented versus horizontally oriented slides. I guess this is done at software level, though I'm not 100 % sure.
This was for sure my main problem in the scanning process, as Digitdia software does not perform a very good job in this area. Around 10 % of the scanned images were framed too wide, and had to be manually cropped (in particular the vertical ones). Around 2 % of the scanned images were wrongly shaped and had to be scanned again. Failures occured obviously mainly on dark slides, such as indoor pictures taken in the evening.
Should I do it again, I think I'd disable the detection feature from CyberView X in order to scan the full area for all slides, and try to find a software which does the framing right.
Required time
There are two durations to consider: the manipulation time (i.e. the time you spend to prepare slides, and post-process the images), and the scanning time (i.e. the time the scanner spents to scan the slides, but without you).
The first time largely depends on how your slides are organized, what kind of post-processing you apply, how efficient you are, etc. So generalities are difficult to state. Personally, I spent around in average 30 seconds of manipulation per slide (i.e. around 150 hours for 13,500 slides), to:
- Transfer the slides from the boxes where they were stored to the circular magazines,
- Clean the Kodachrome slides with a small brush (around 50 %),
- Type the legend of each slide after scanning,
- Quickly check the quality of the scanned images.
The datasheet announces a scanning time of 90 seconds per slide at the maximum resolution. This might be true, but the real time spent per slide is higher, because some time is needed for preparing the scanner before scanning each slide, and to transfer and save the image. In practice, I observed:
- 2 minutes 40 seconds per slide (3600 dpi) with ICE, i.e. 4 hours 30 minutes for a batch of 100 slides,
- 1 minute 50 seconds per slide (3600 dpi) without ICE, i.e. 3 hours for a batch of 100 slides.
Hence, I was able to launch three batches per day (one batch before I left home for work, one batch after work and one batch during the night), with at least 2 hours of preparation and processing work per day. The limiting factor was hence the number of slides per batch, what was a very strong argument in favor of the circular magazines.
Quality
I've globally been very satisfied by the quality of the scanned images. The color are realistic, the resolution is good. The main issue is obviously the quality of the scanned slides, and in particular the dust and scratches. For non-Kodachrome slides, the ICE technology performs an almost perfect job. Hence, the scanned image is better than what you would see with a conventional projector. For Kodacrhome slides, which are not compatible with ICE, I tried to minimize their impact by a manual cleaning of slides with a brush. Nevertheless, some remained in all cases (but the same applies for a conventional projection). To conclude:
- All scanned images are fine for watching on a computer screen or with a video-projector,
- Images scanned with ICE technology are also fine for printing,
- Images scanned without ICE technology may require some manual removal of dust and scratches before printing.
Examples
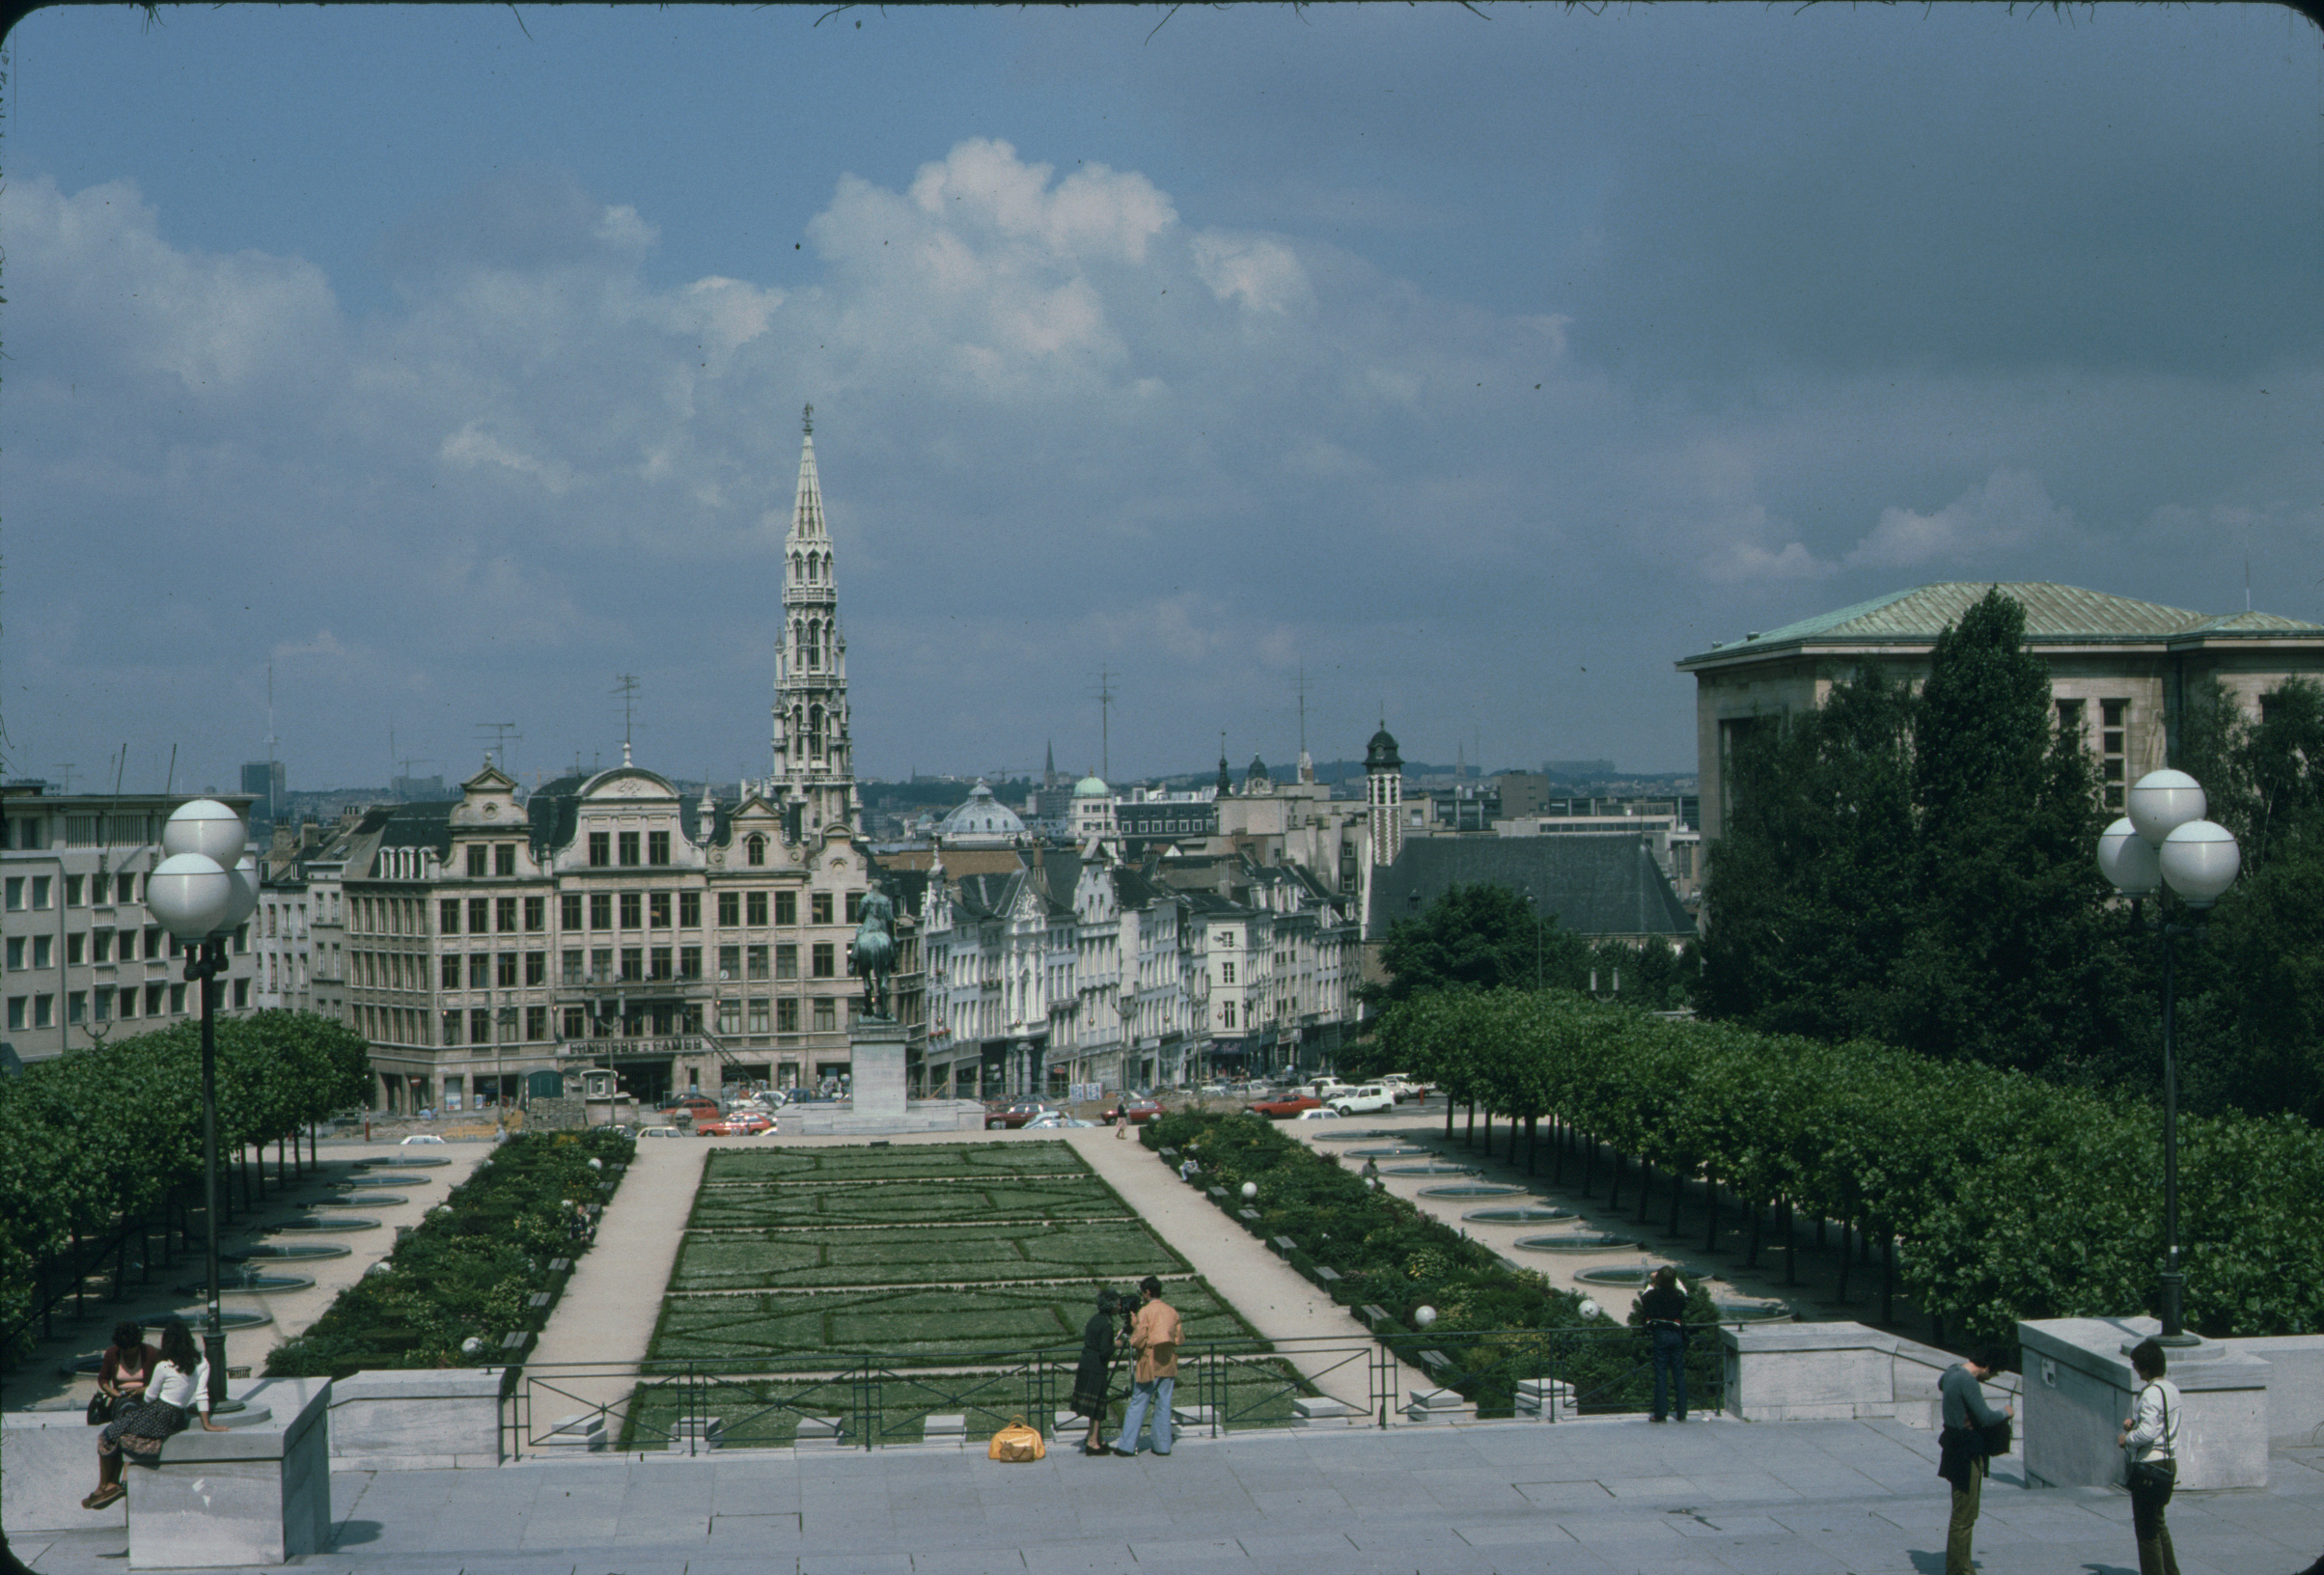
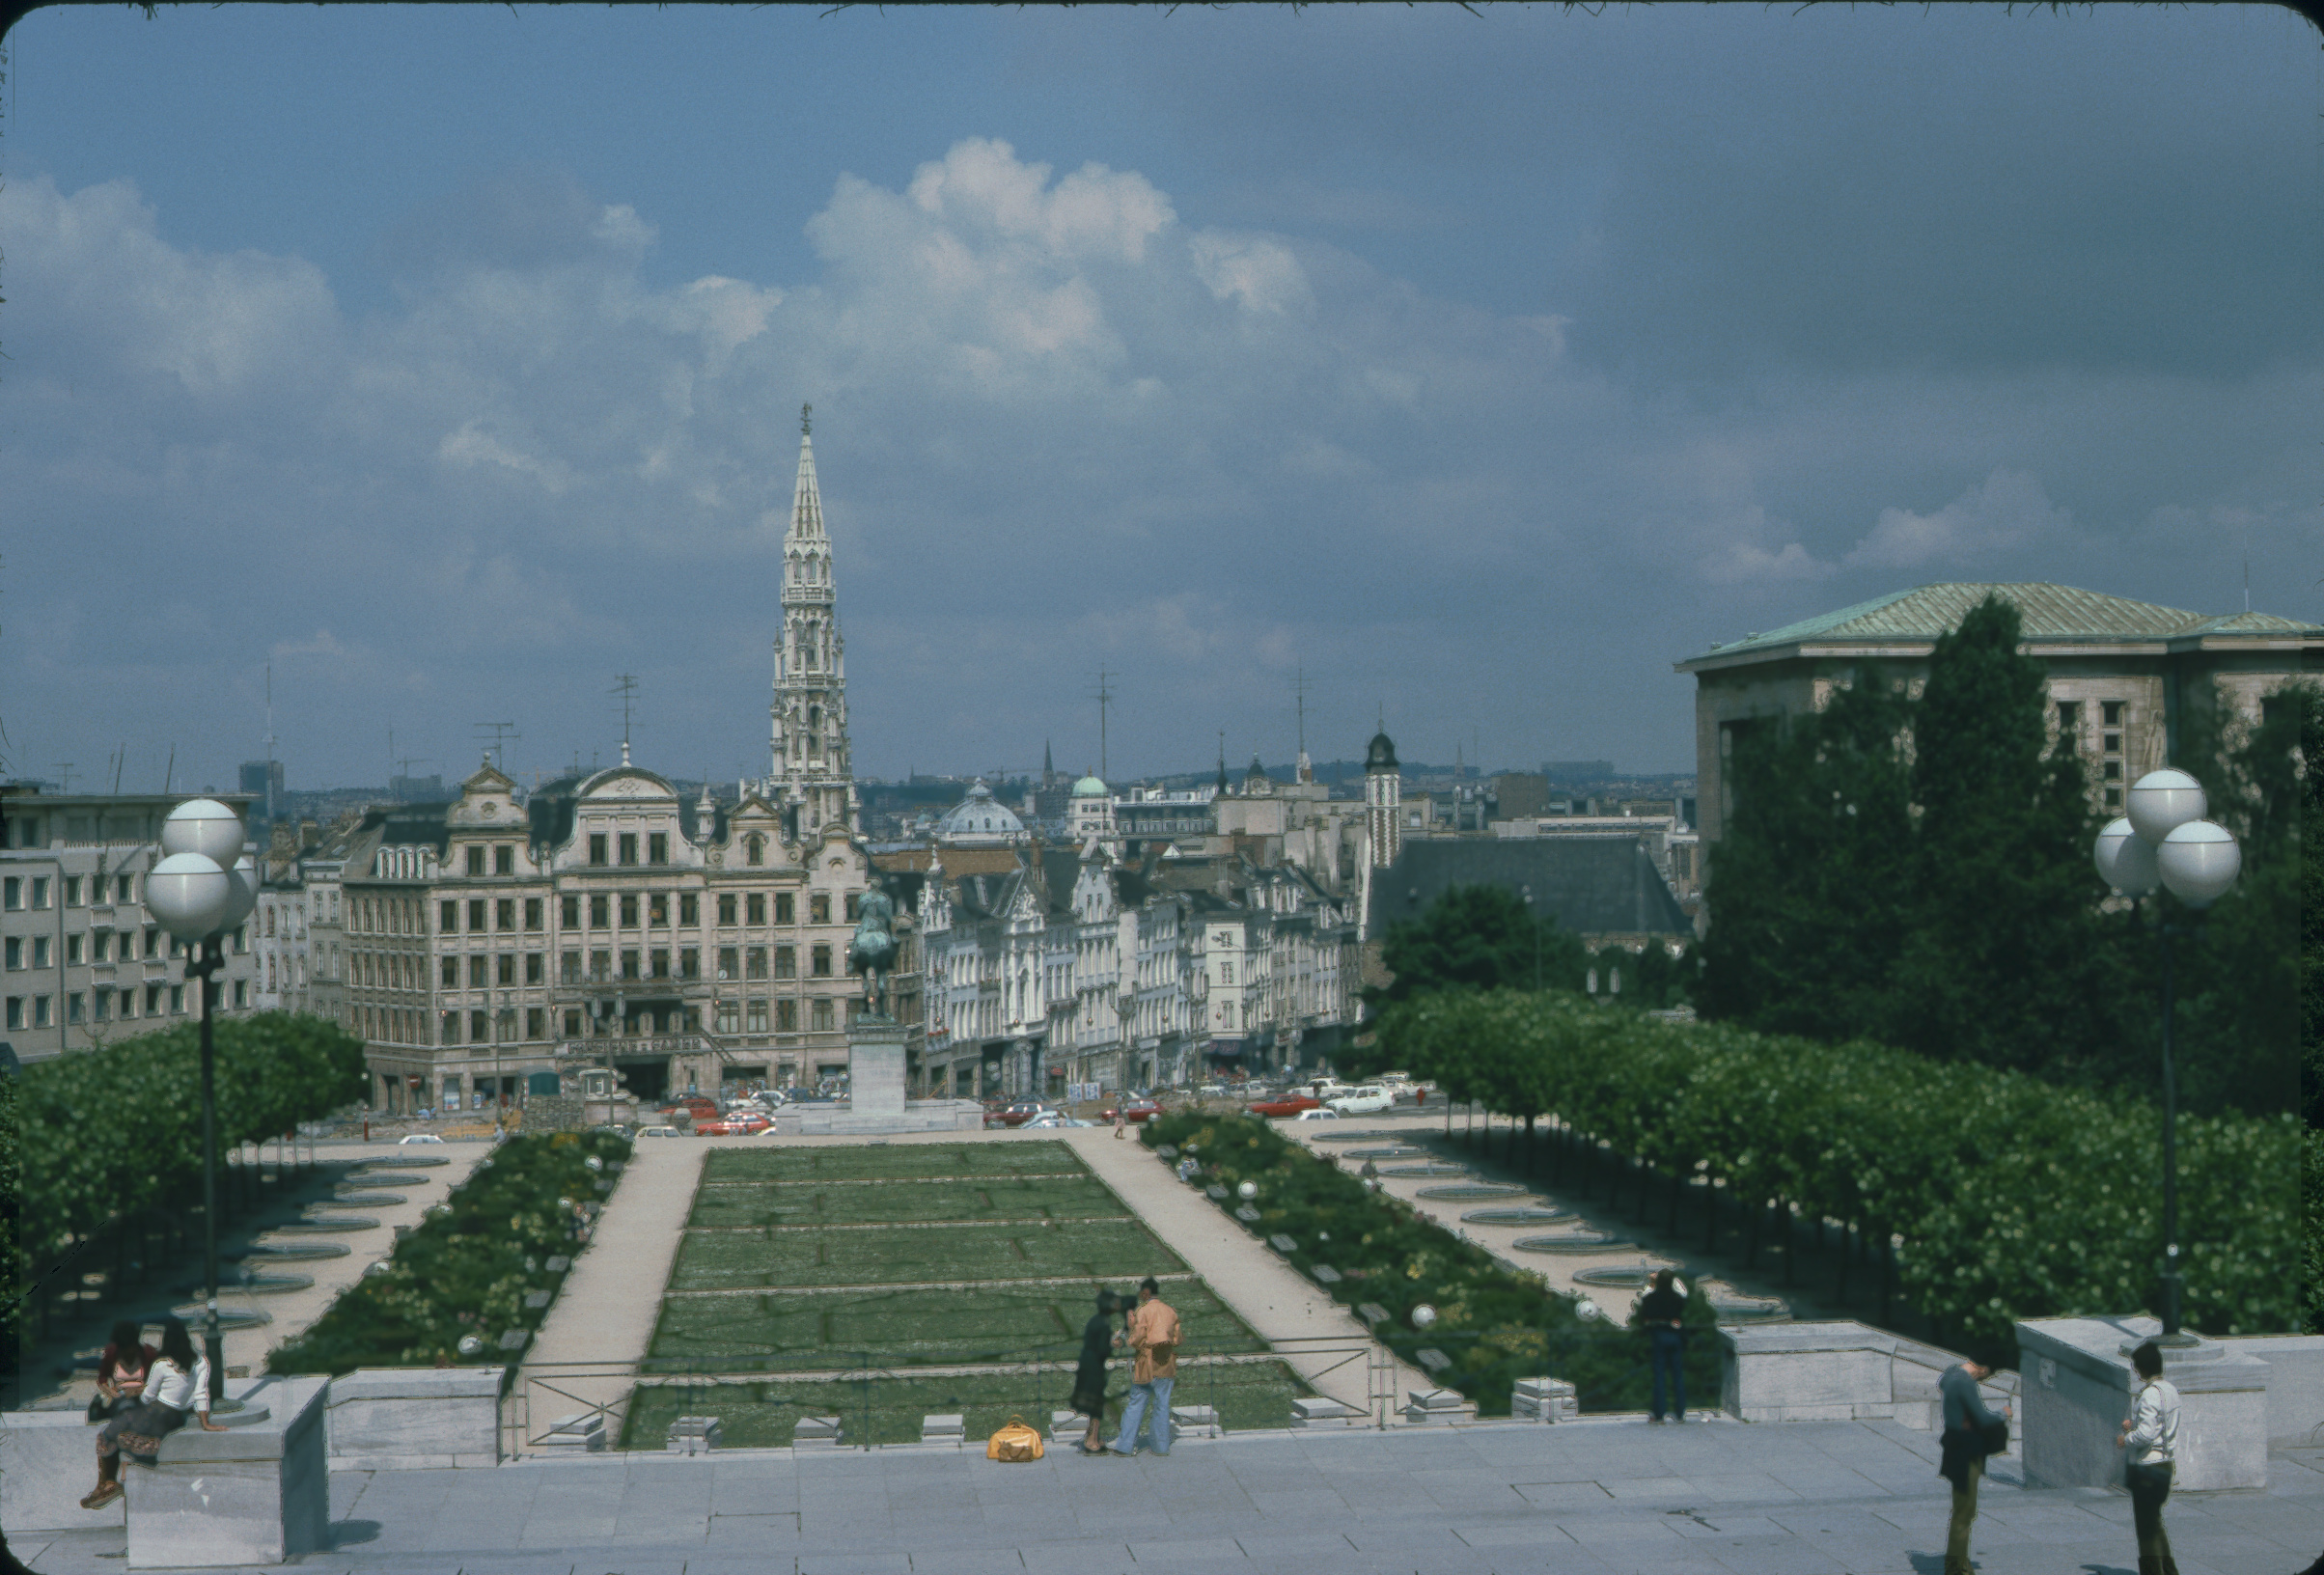
A Kodachrome slide (dating from 1970s), scanned in 1800 dpi, without and with ICE technology. If you zoom on the image scanned with ICE, you will see the adverse effect of this technology on Kodachrome slide. (Click on the image to download them in full resolution.)
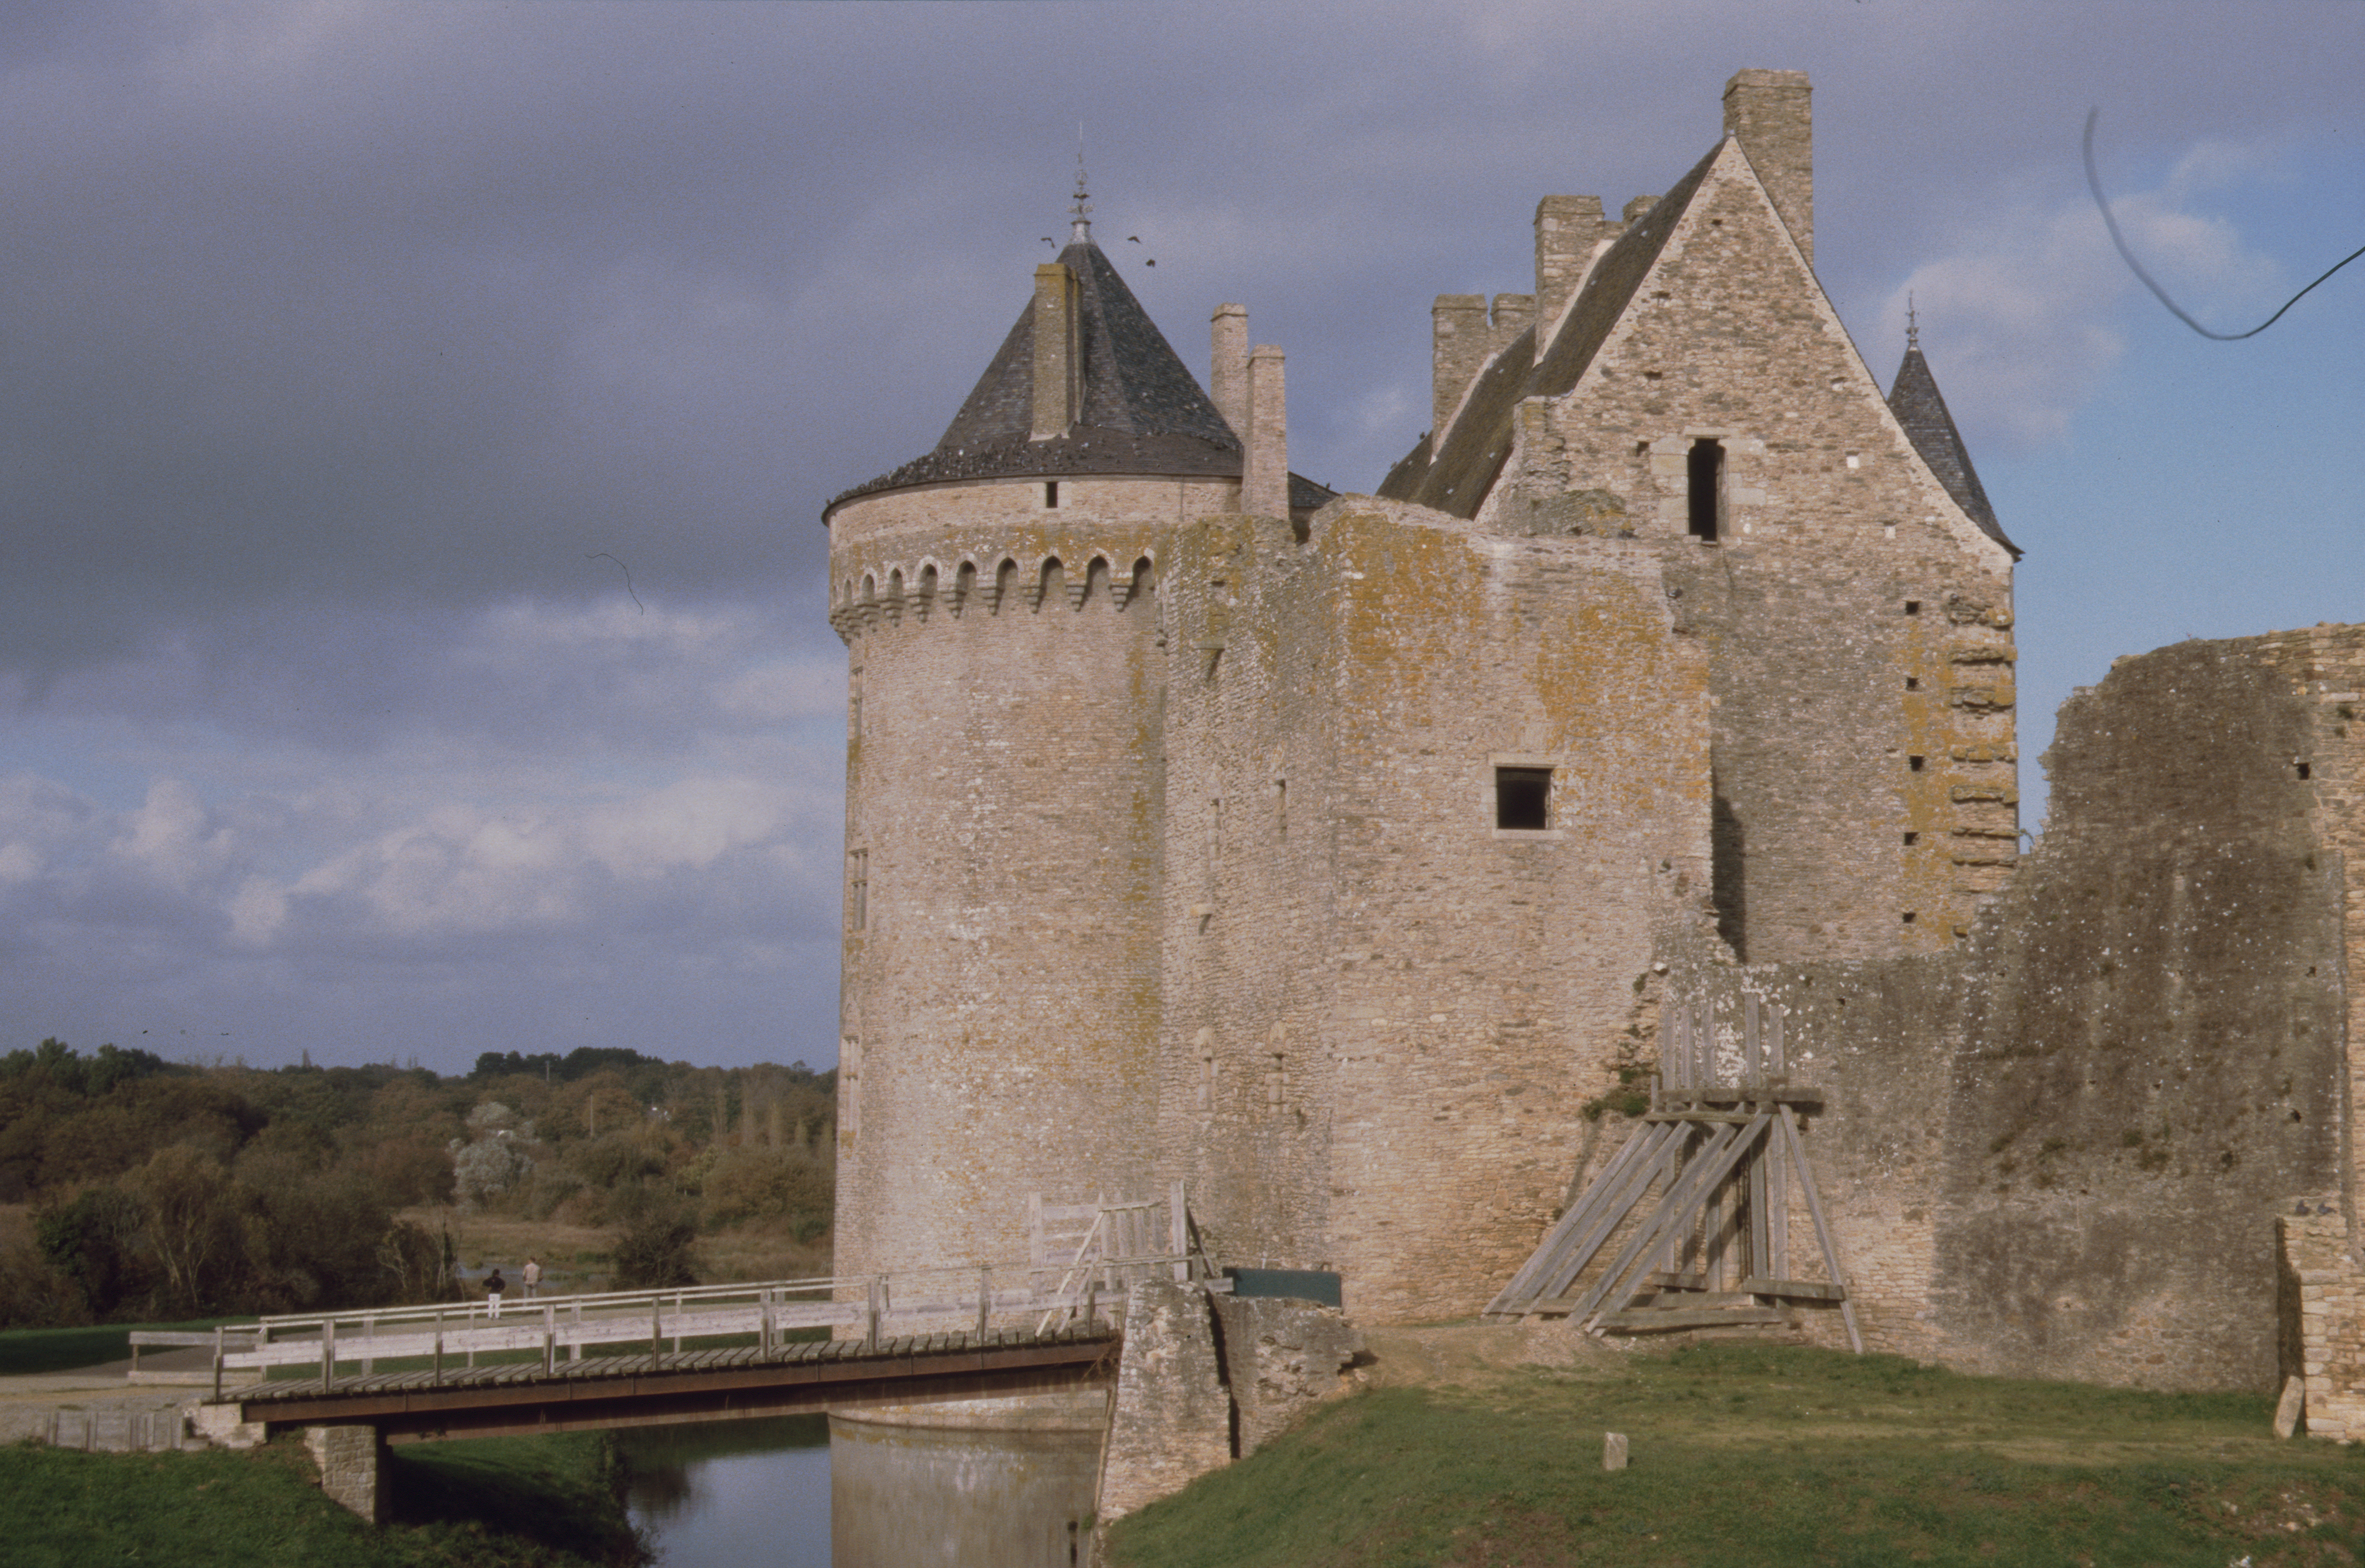
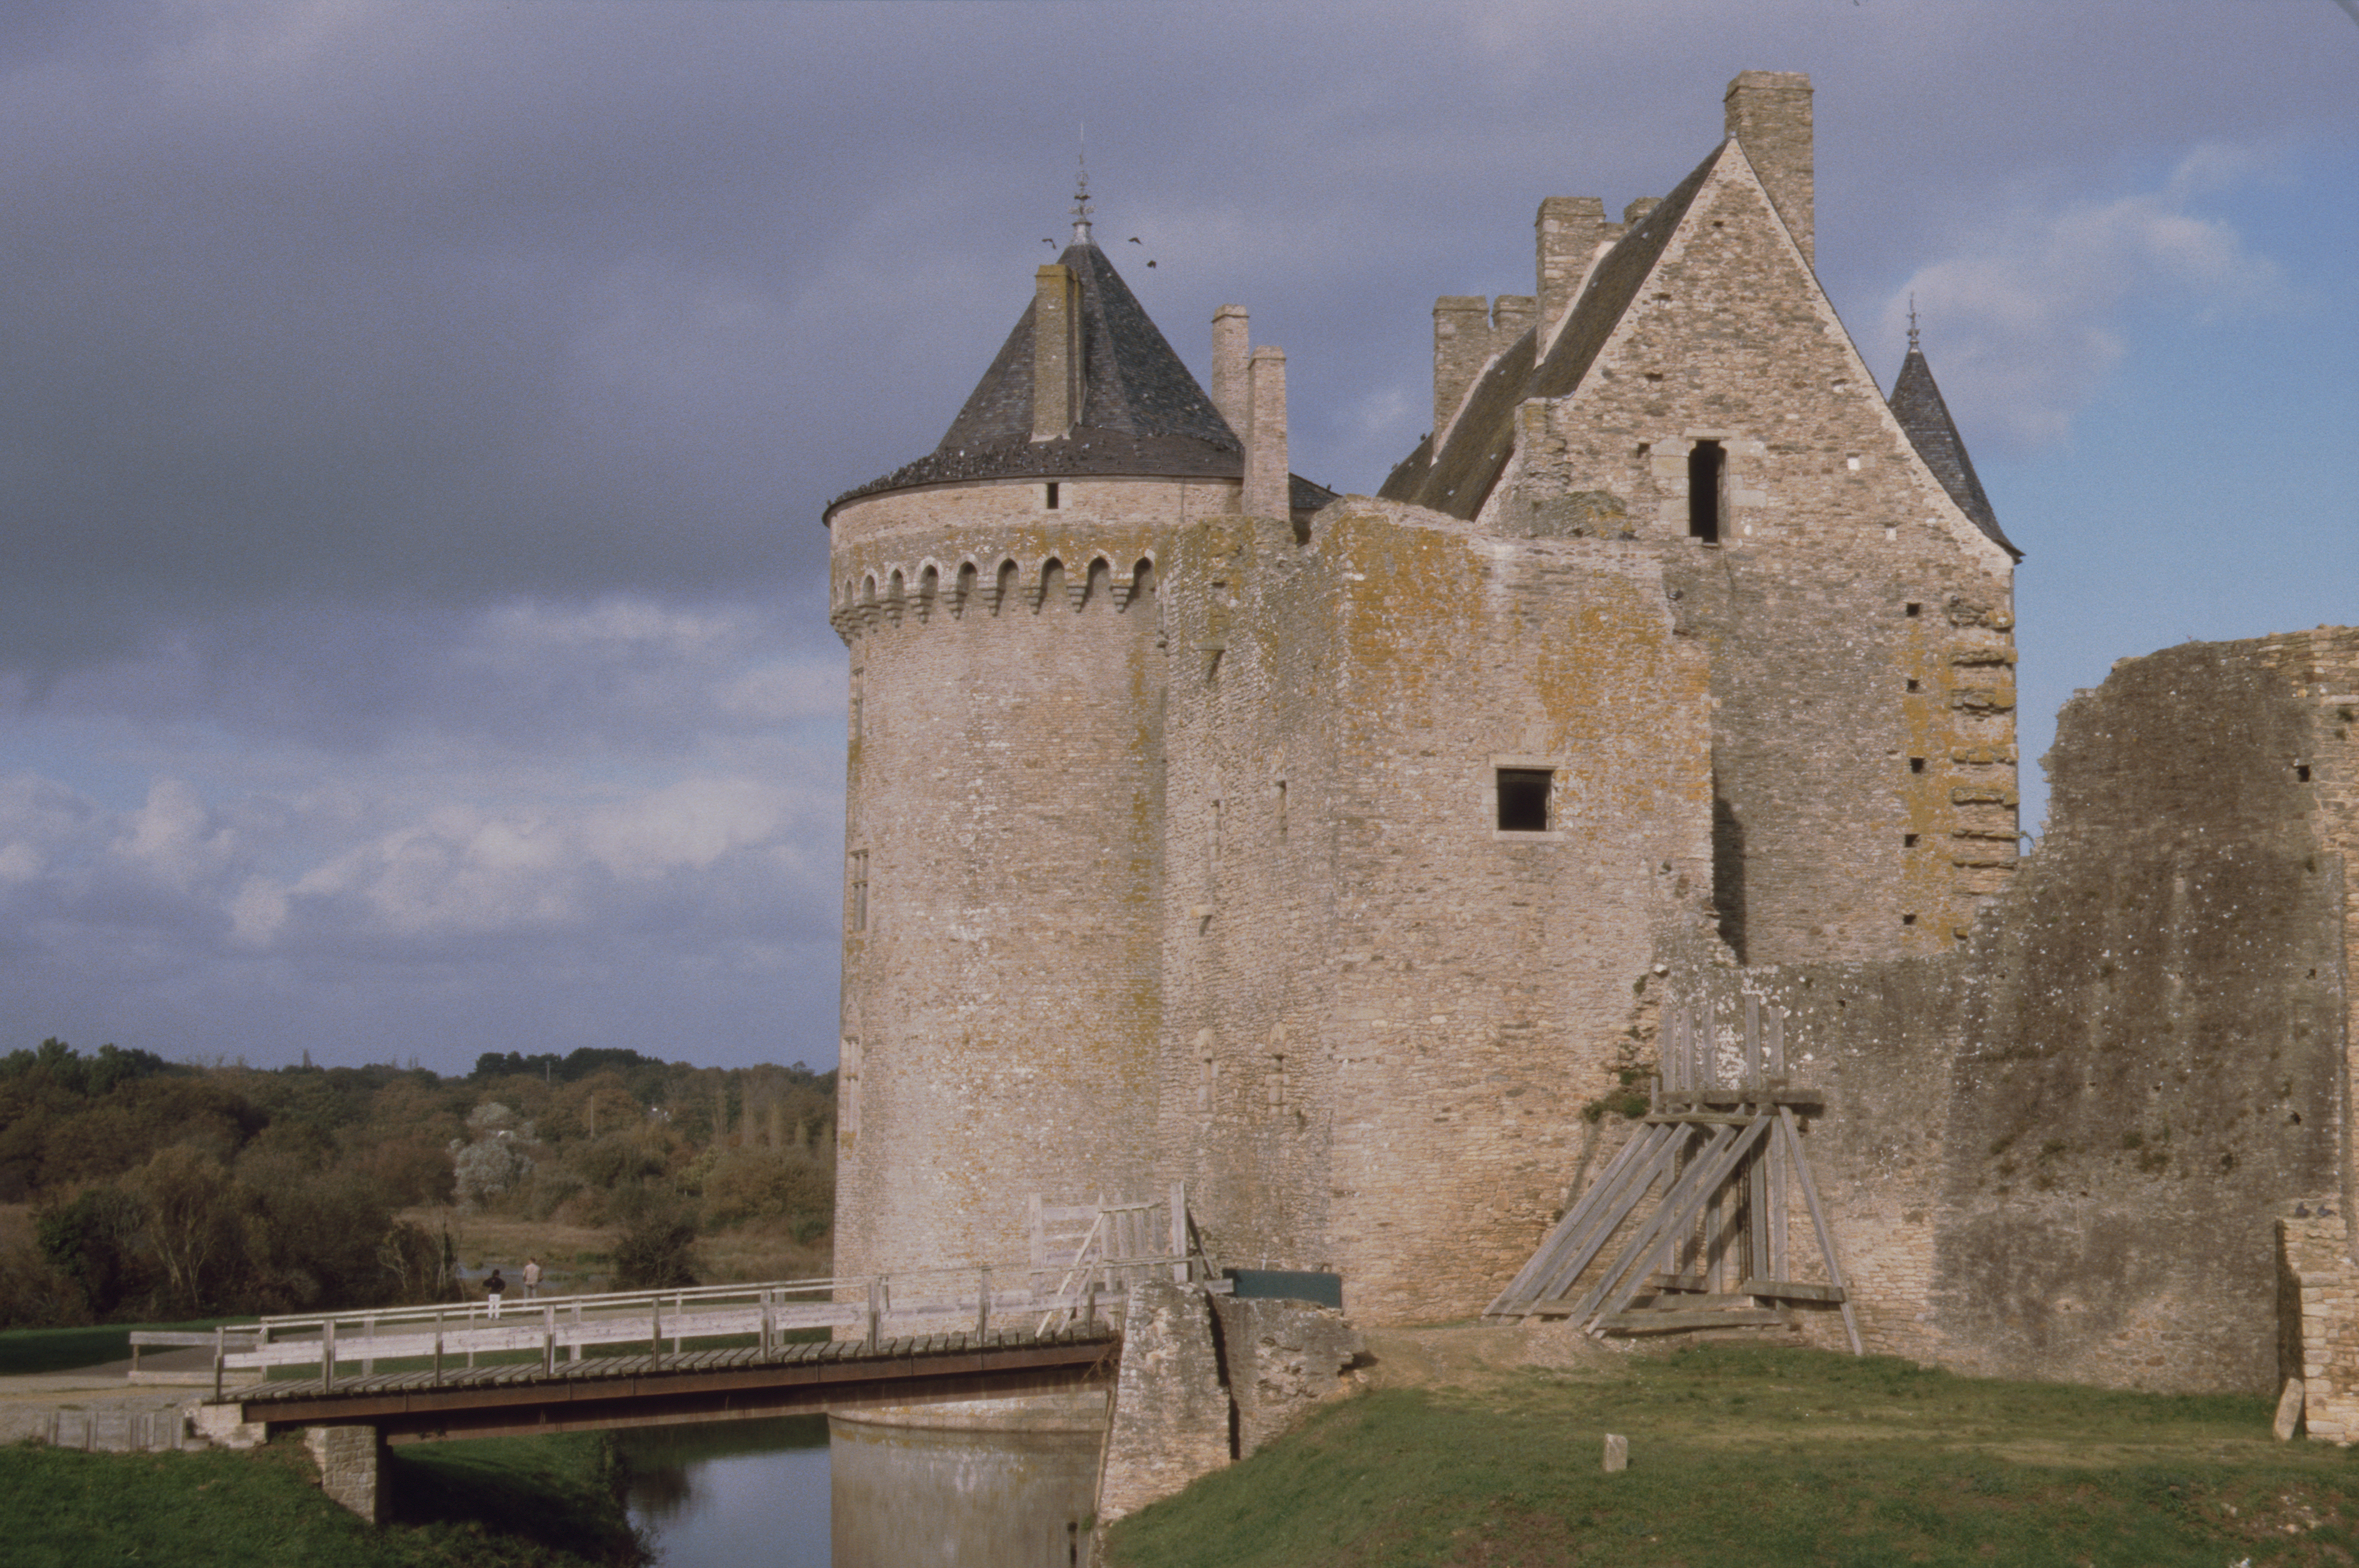
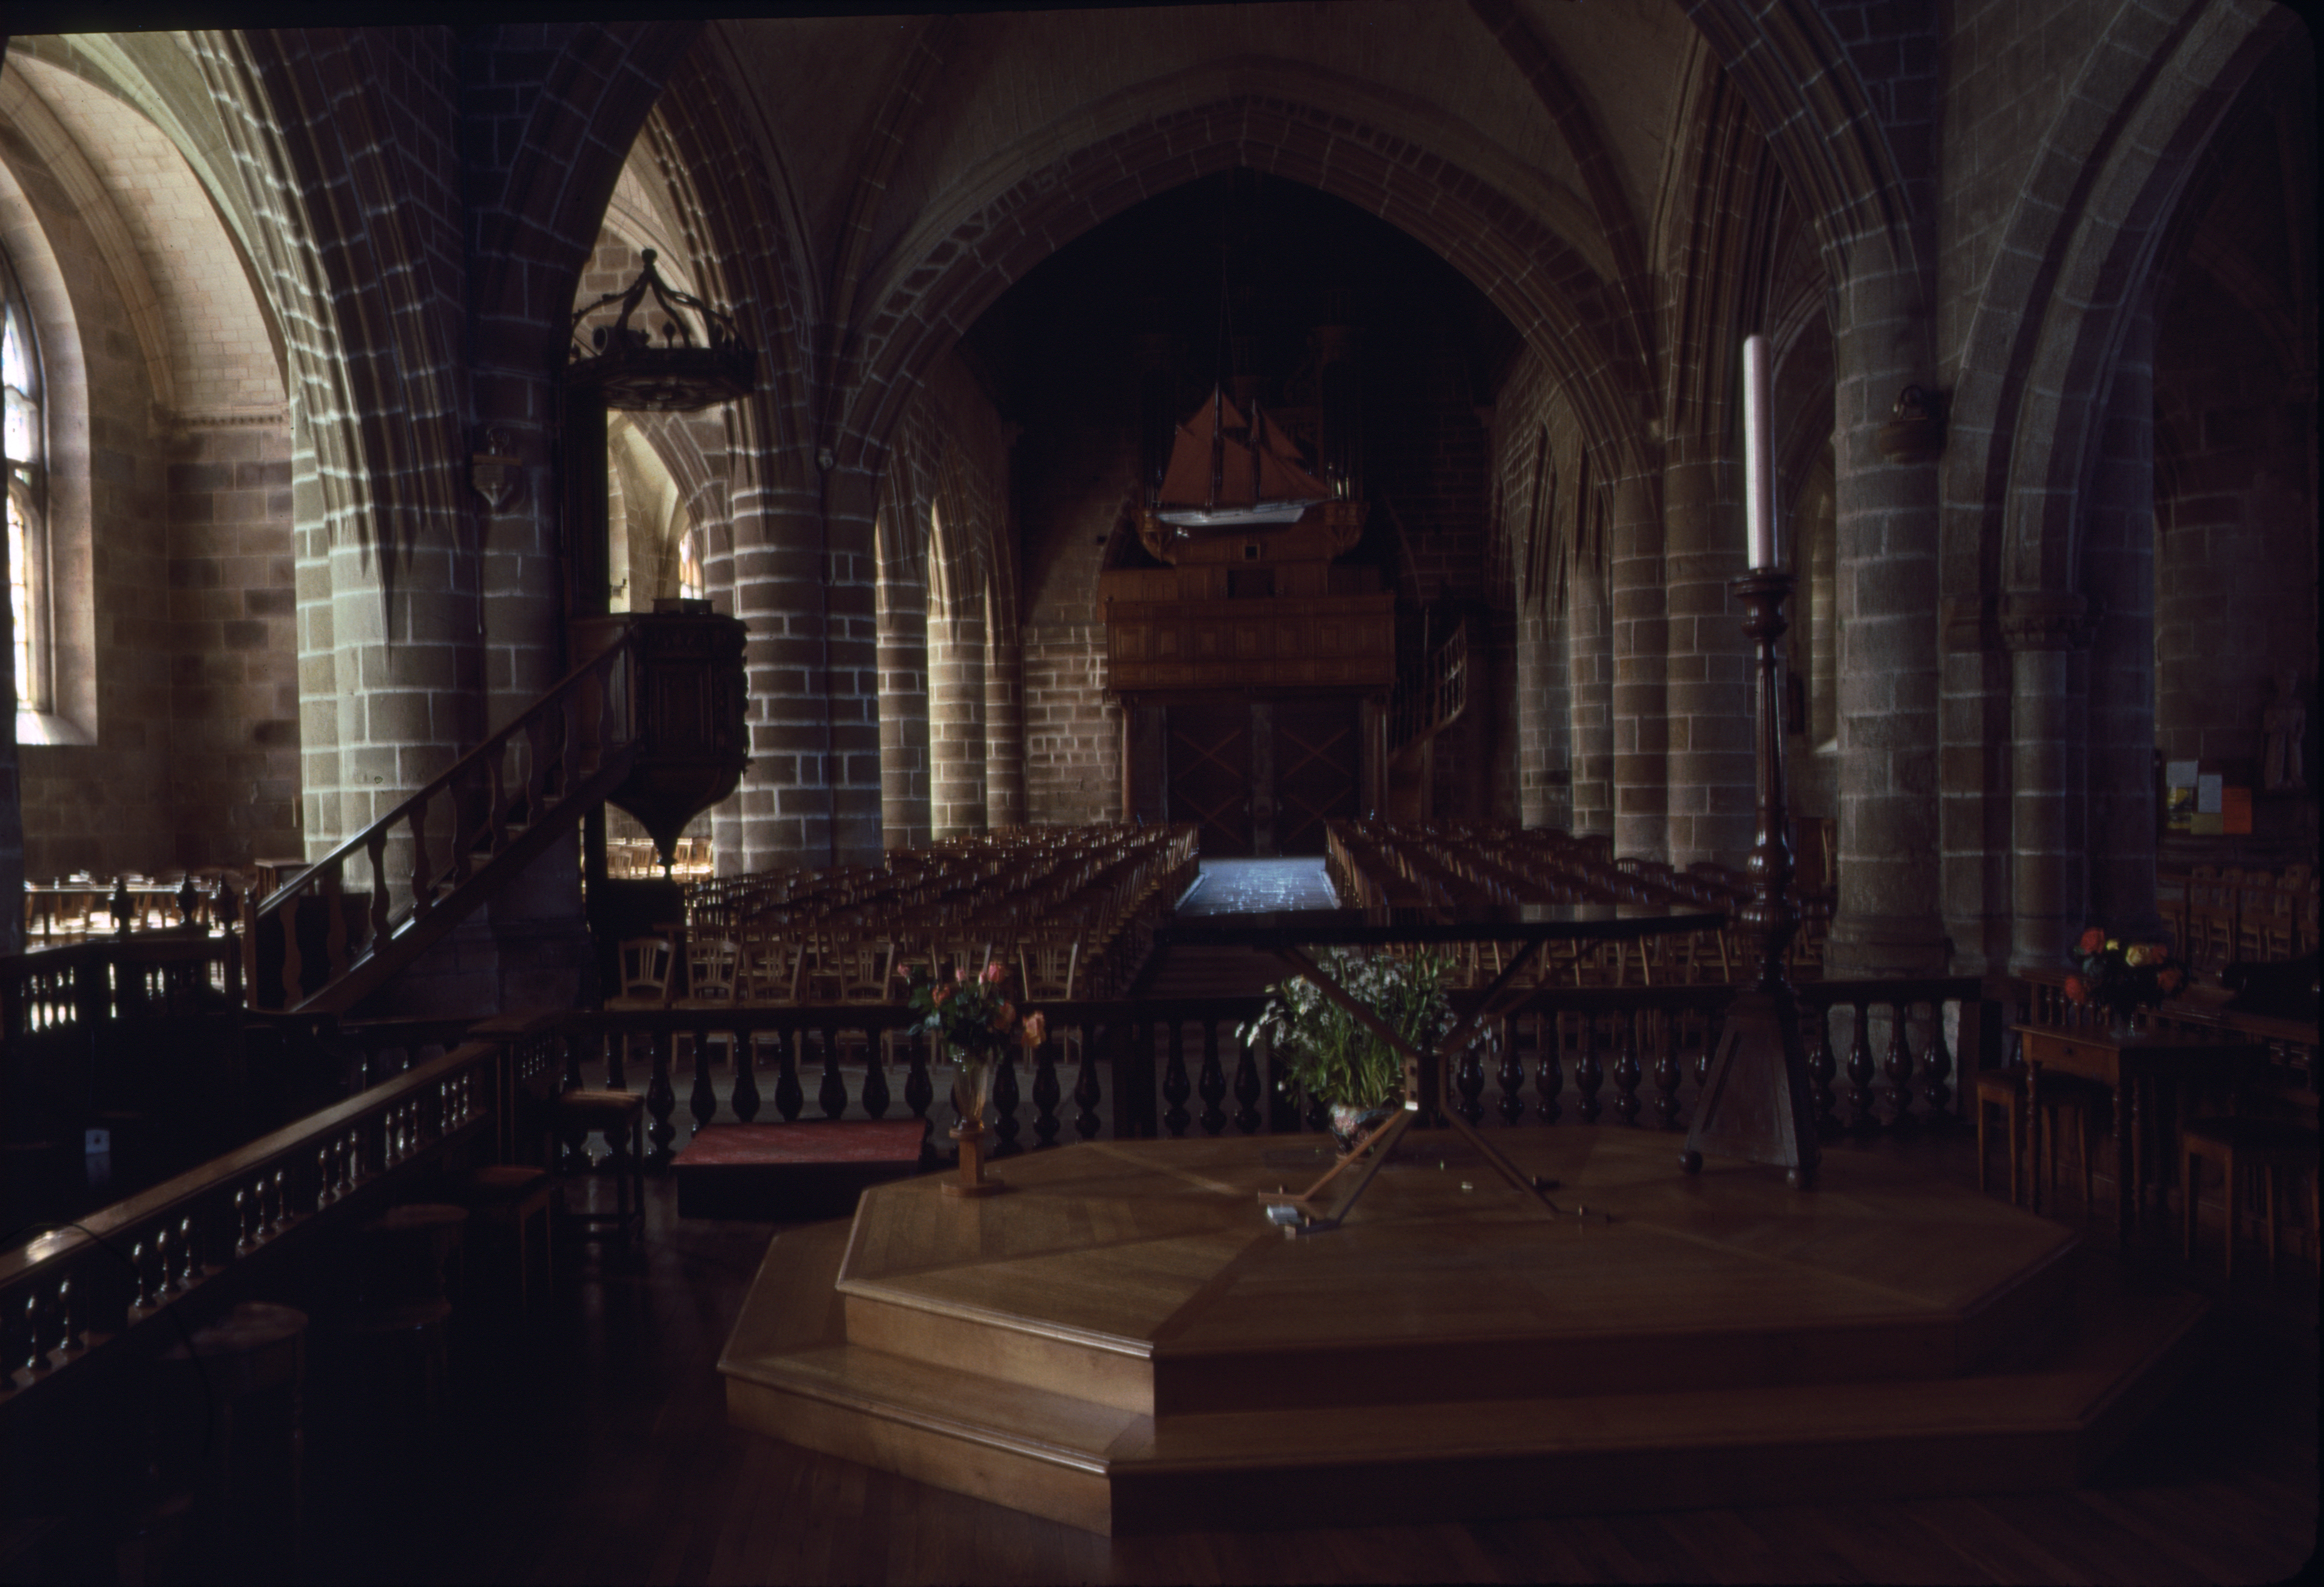
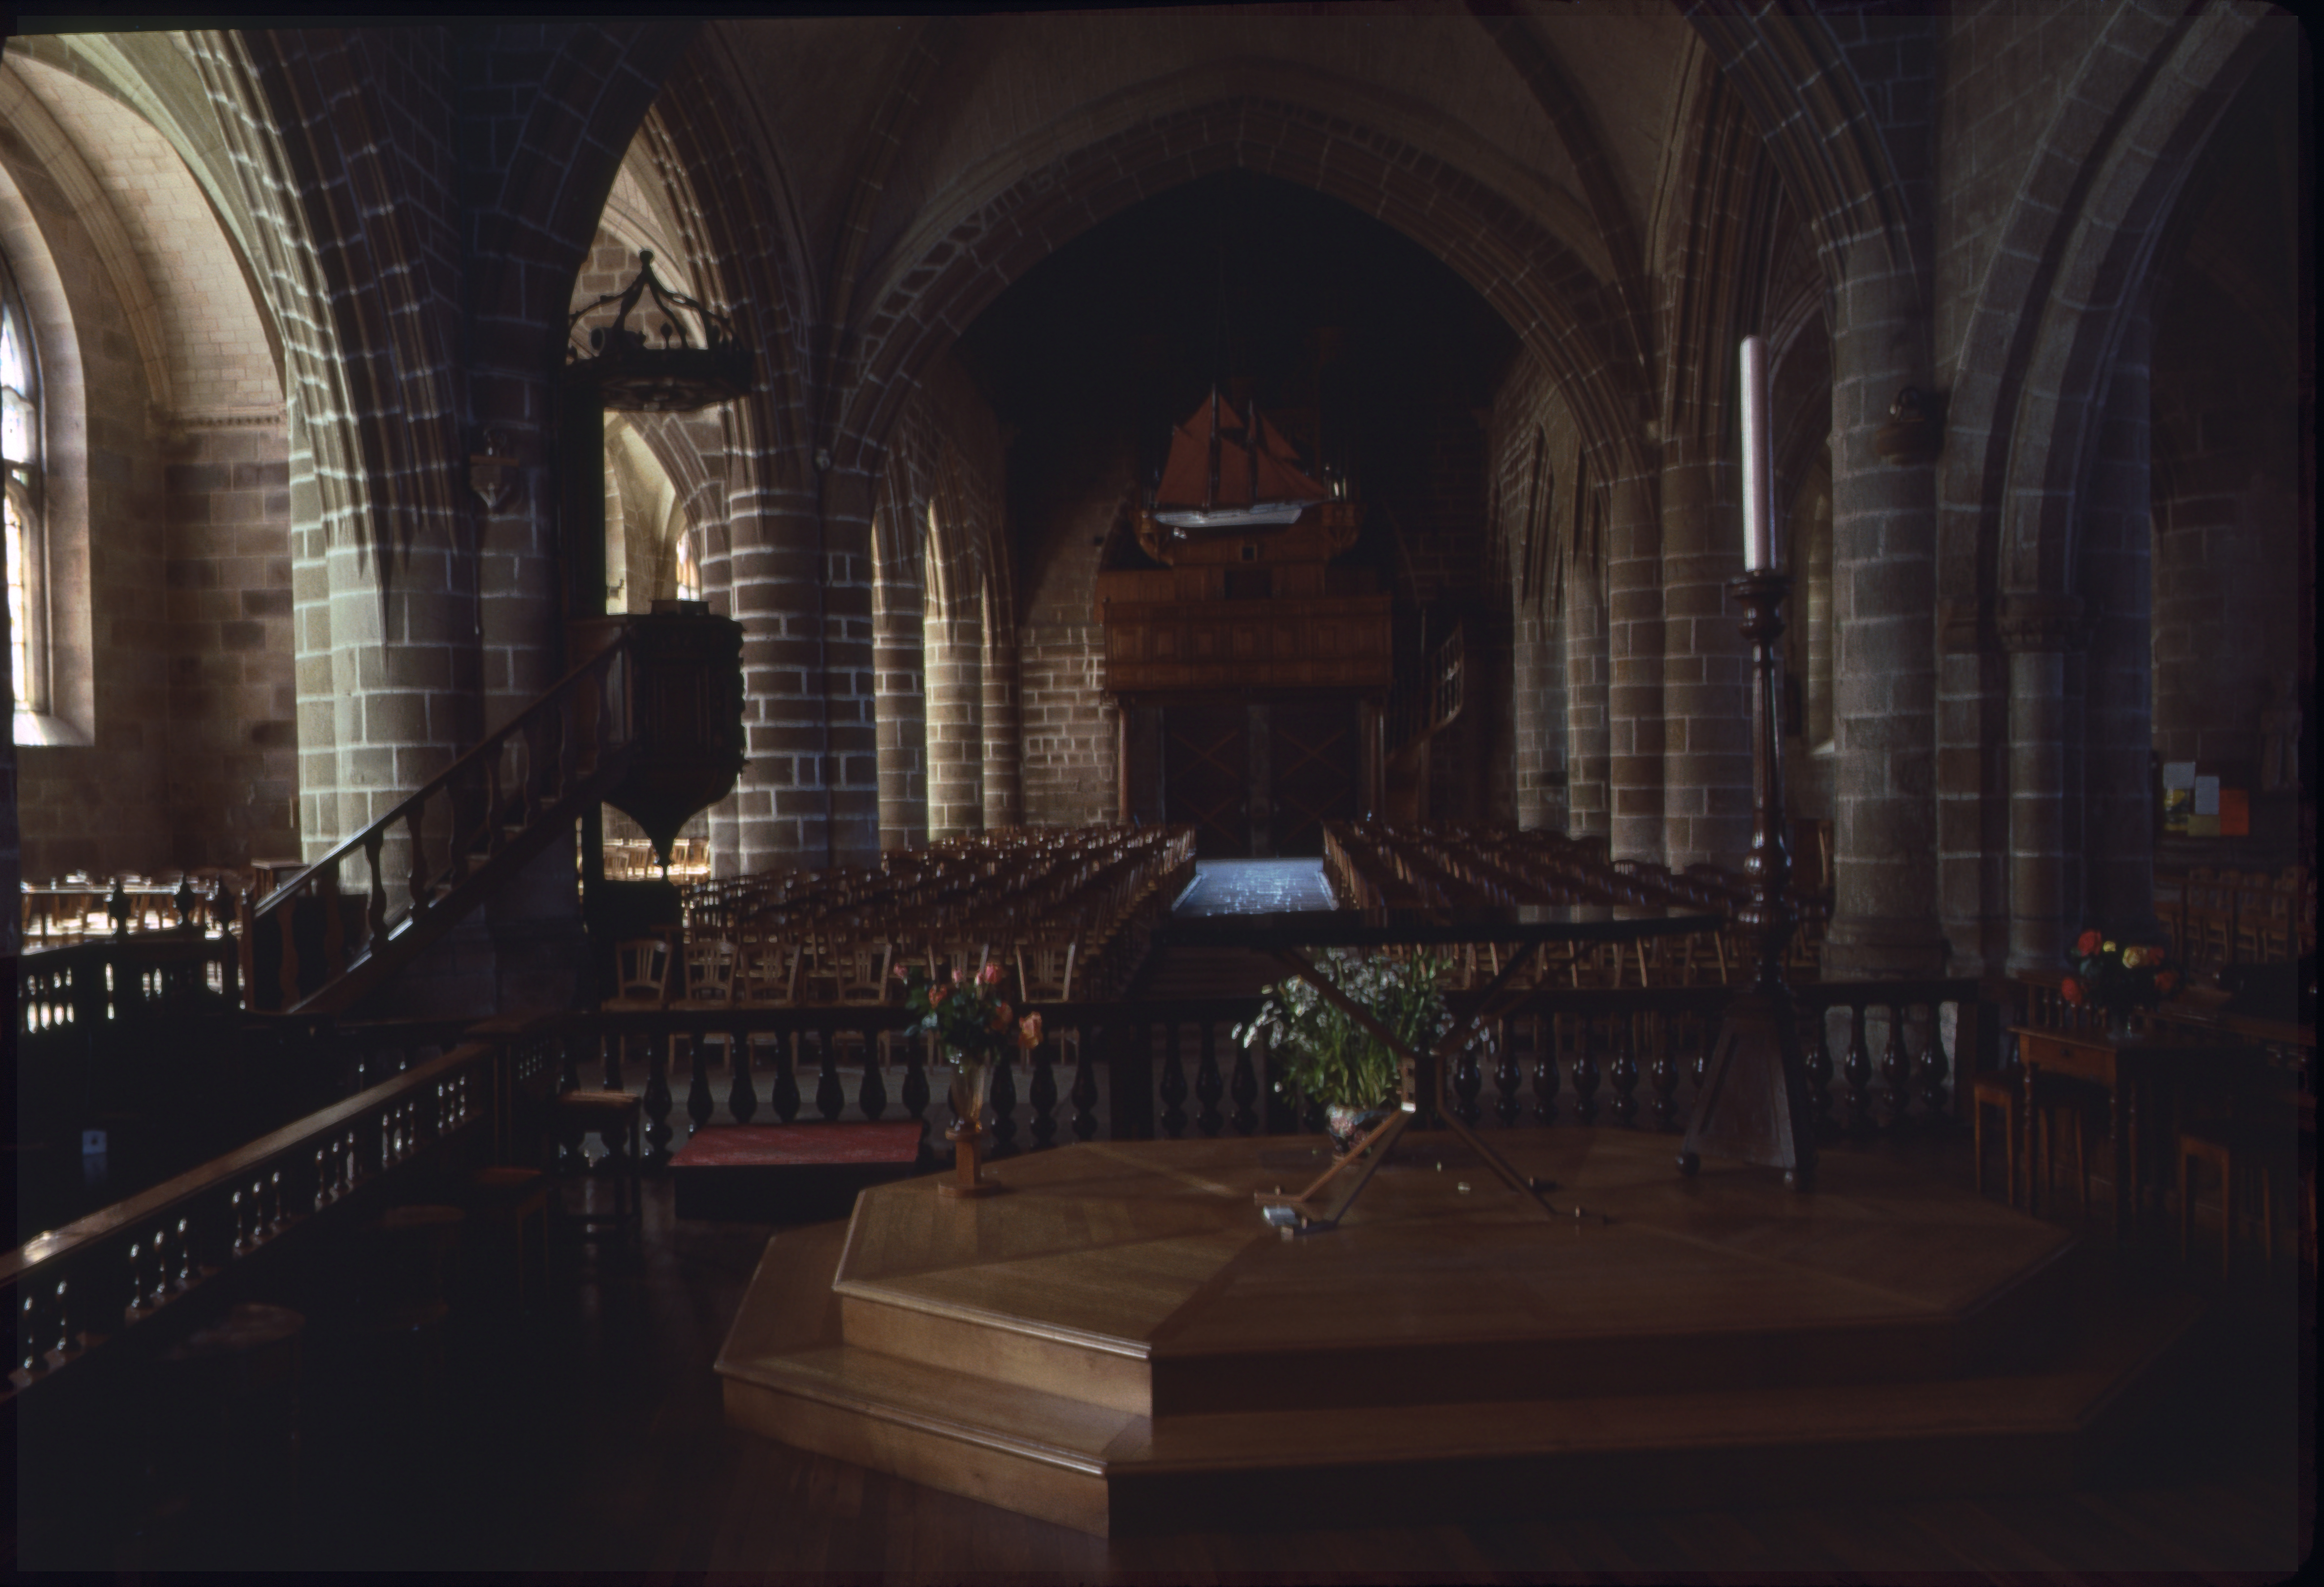
Another Kodachrome slide (dating from 1970s), scanned in 3600 dpi, without and with ICE technology.
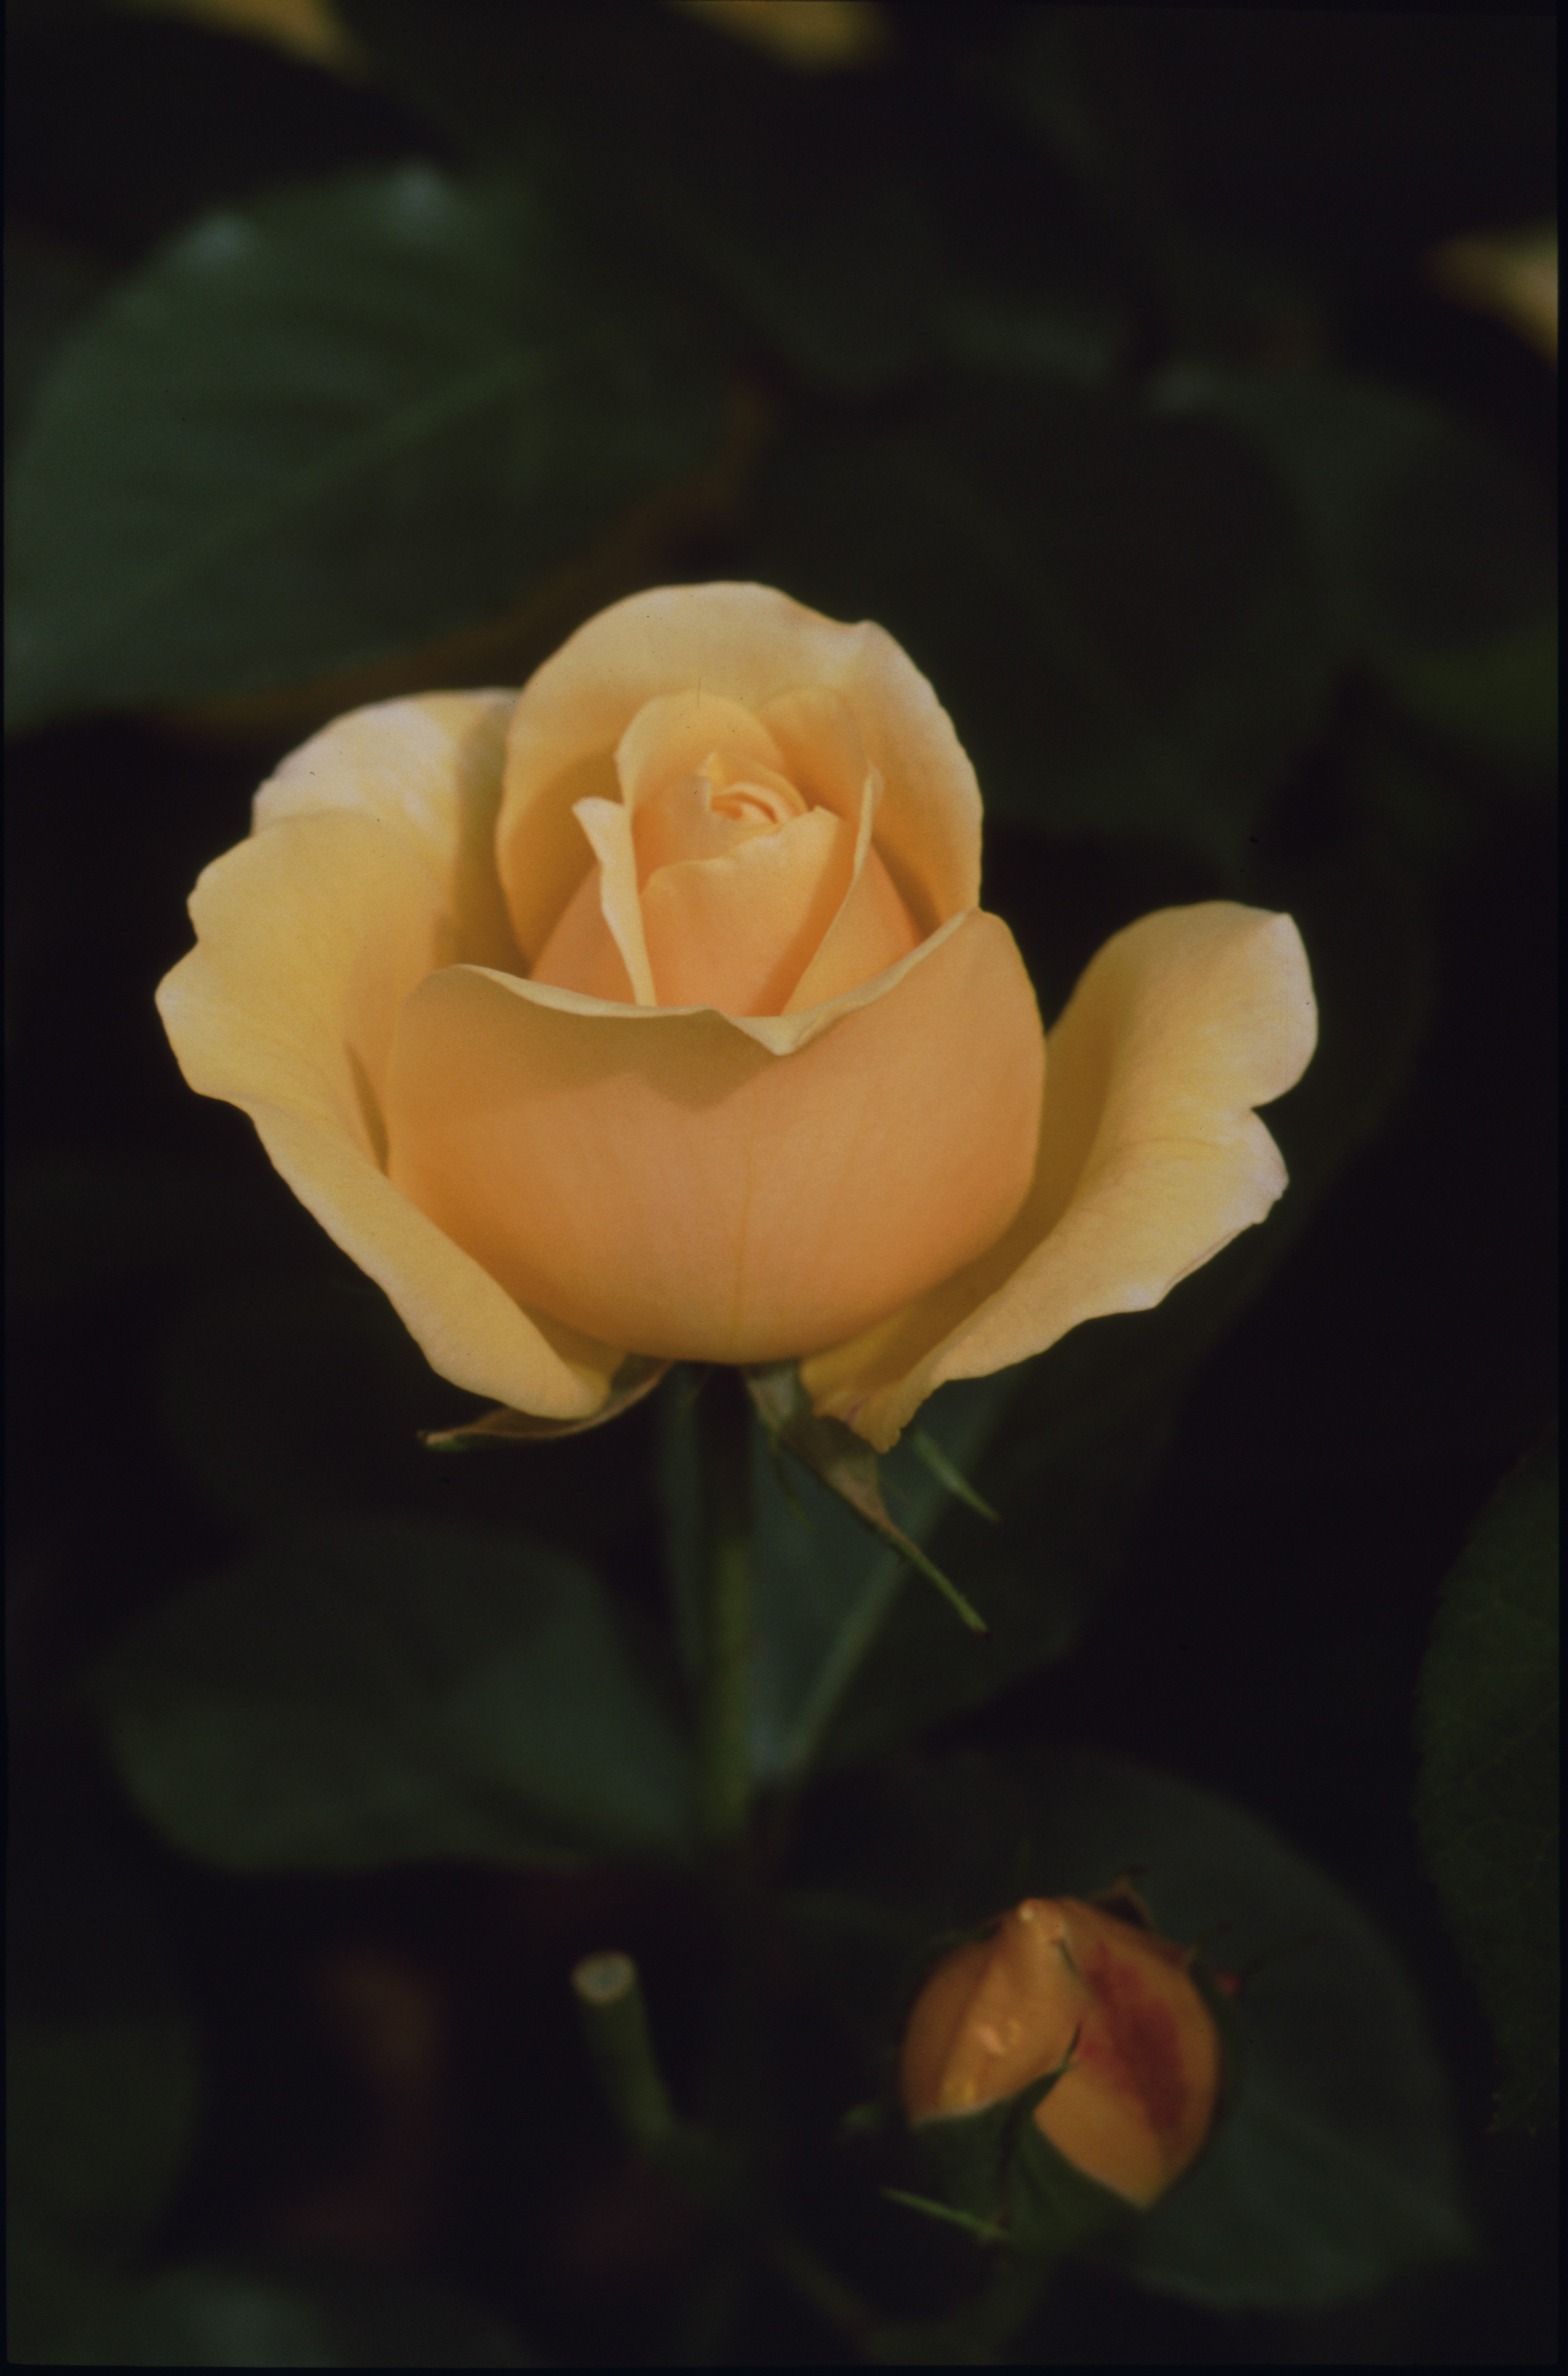
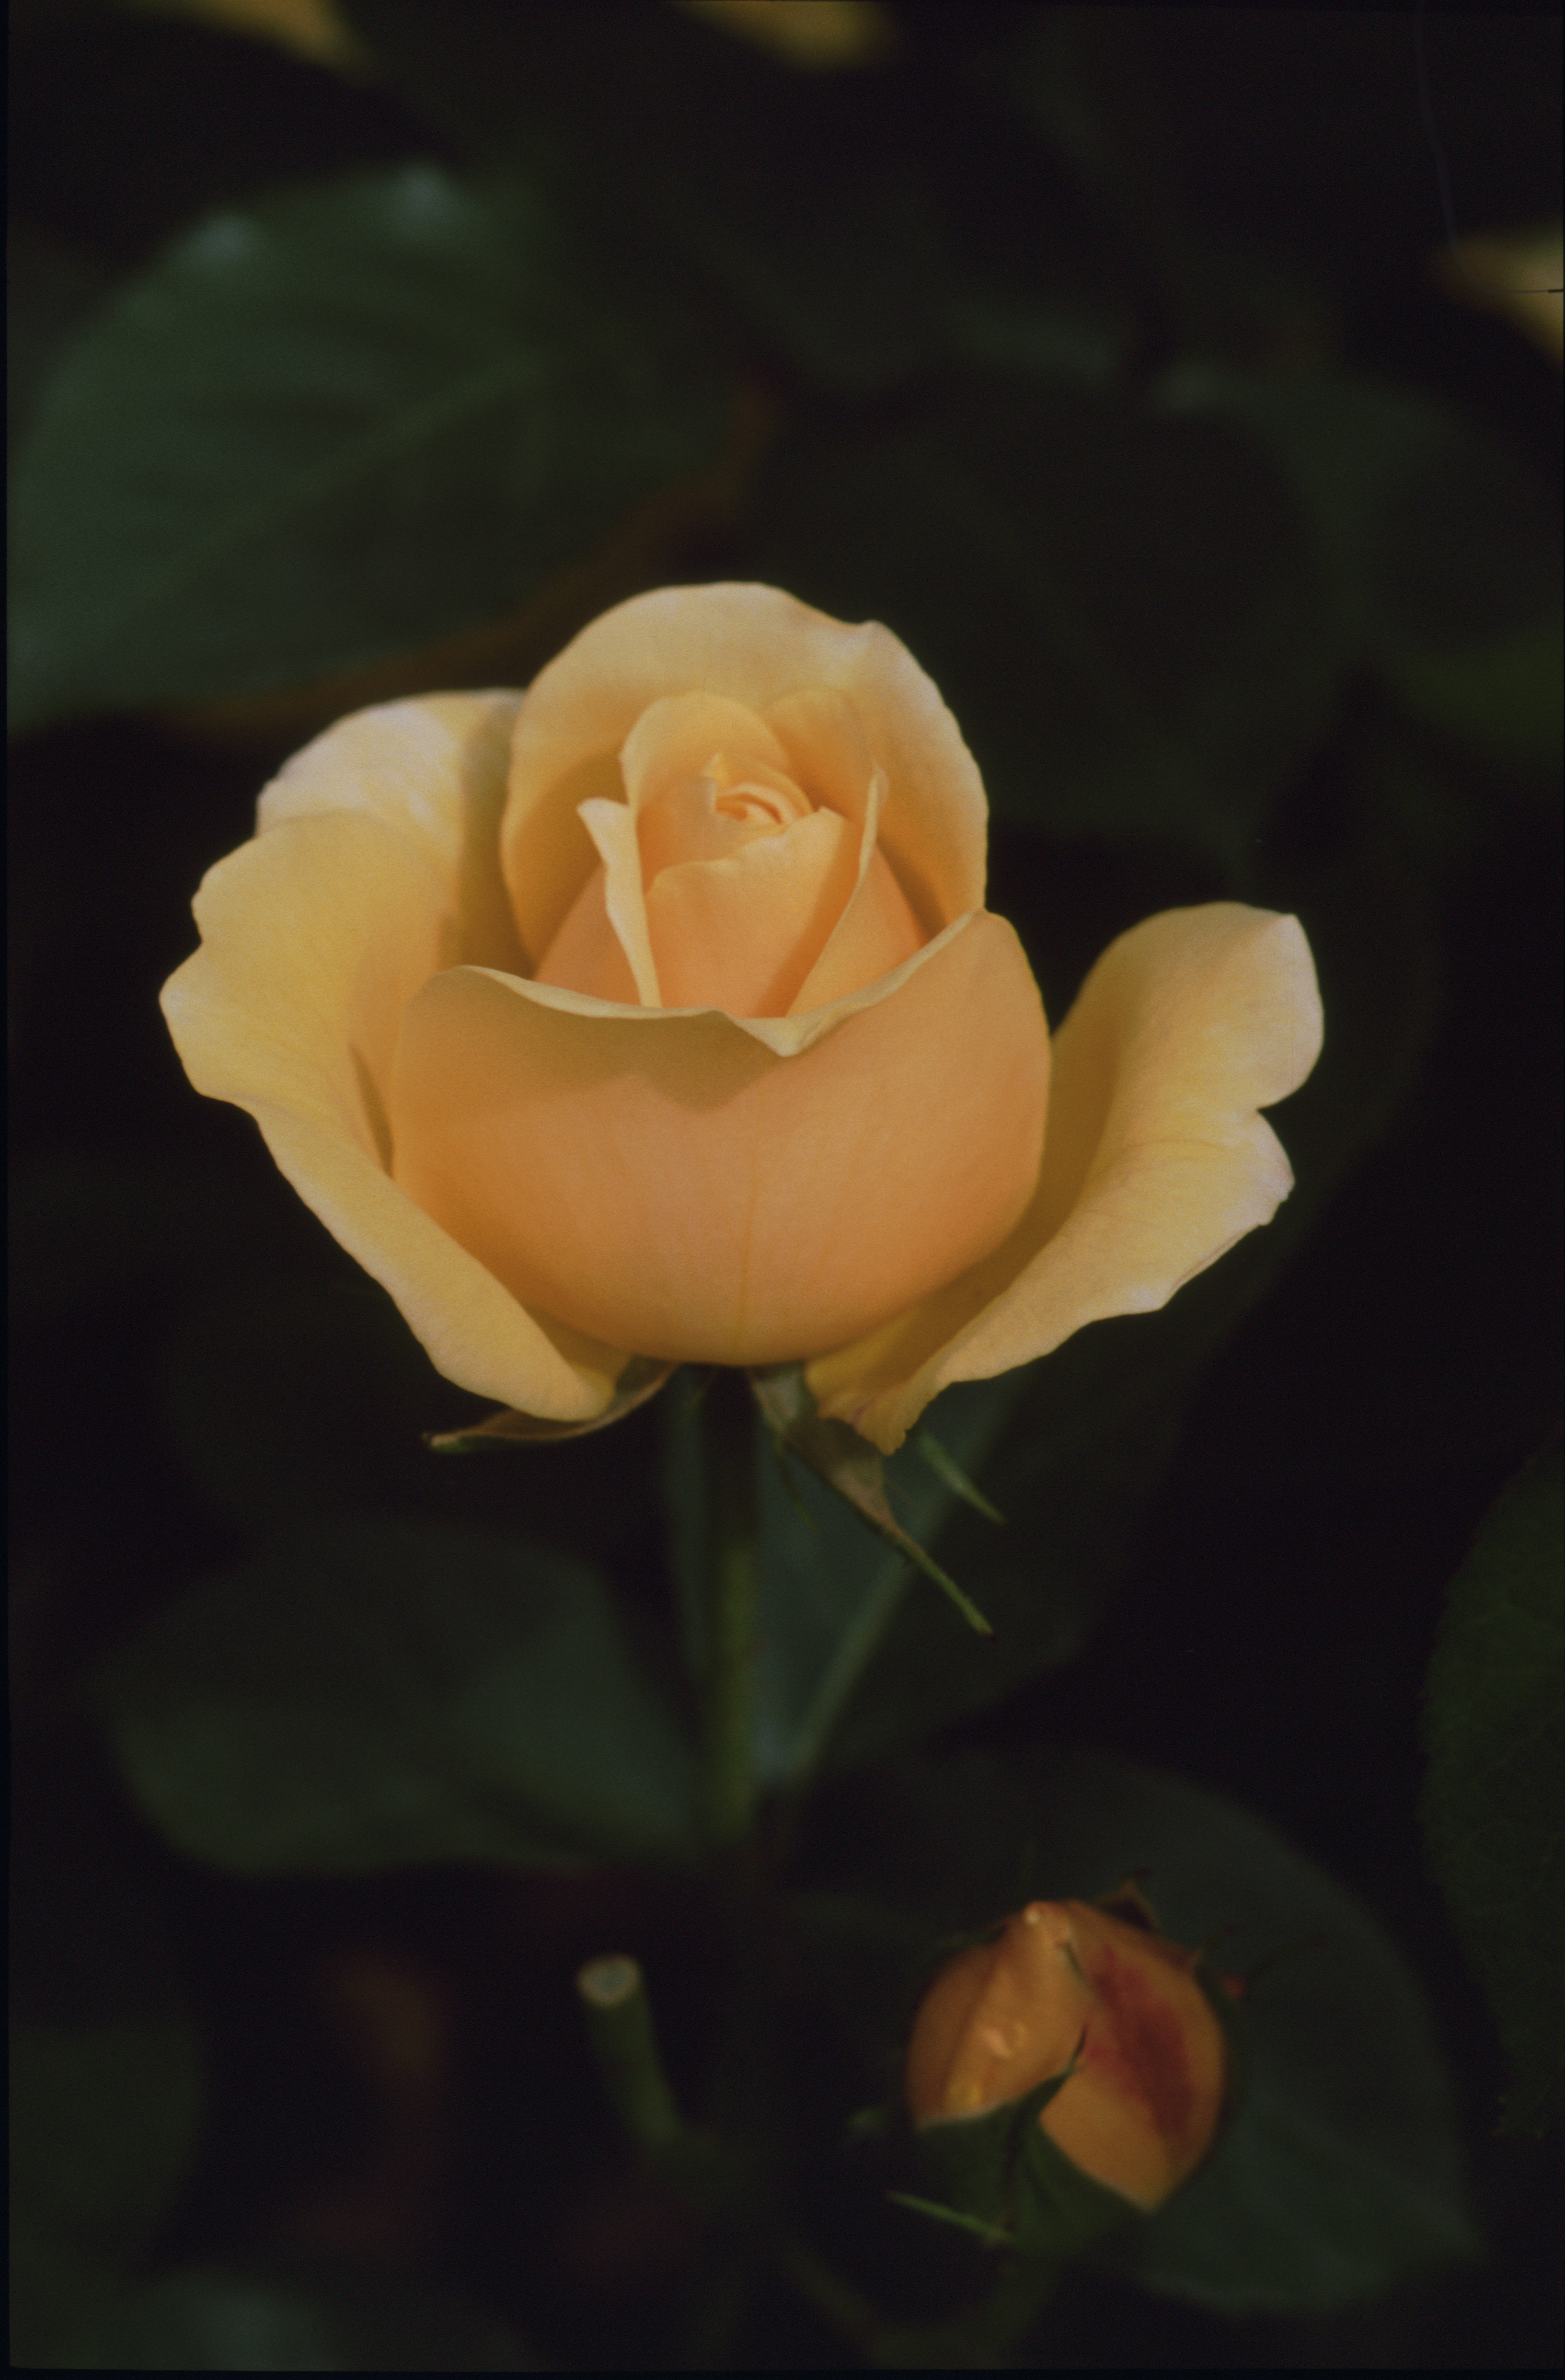
A regular slide (dating from 1970s), scanned in 3600 dpi, without and with ICE technology. In full resolution, some dust and scratches are visible on the flower without ICE. They are no longer visible with ICE.
A regular slide (dating from 1990s), scanned in 3600 dpi, without and with ICE technology. The big dust in the top right corner, is almost completely eliminated thanks to the ICE technology.